
Now I changed it up a bit....I didn't have a star paper punch at the time, so I used a flower shape, I didn't have the tin pails, so I used some small wooden planters that were just sitting in the garage, and I didn't use the paper "grass", I used moss. Still the same idea though......
Items Needed for this Project:
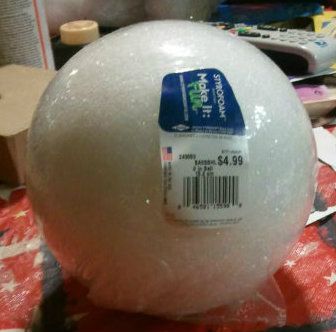
Styrofoam Ball
Scrapbook Paper
Paper Punch of your Choice
Stick Pins (pearl tops preferably)
Dowel Rod
Floral Foam (for base inside pail/pot)
Hot Glue Gun/Glue sticks
Moss or Paper "grass"
Anything you might need to decorate your base
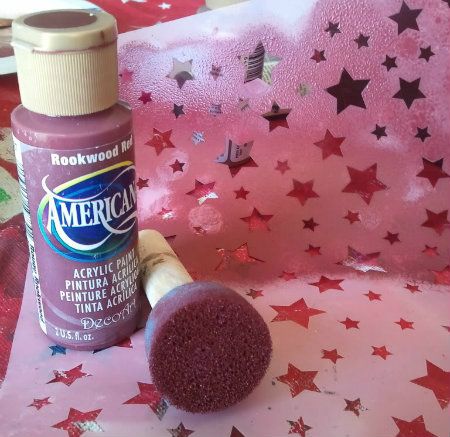
First since my pots already had designs on them I needed to paint them, first step was cleaning them and priming them.
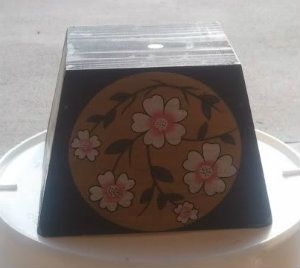
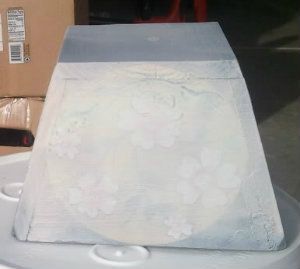
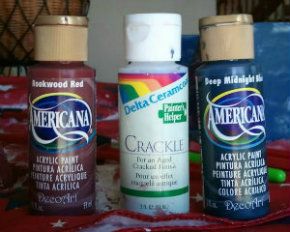
Now I had to decided what I wanted these to look like. I chose to go with a crackle finish. So first I had to paint my base coat (color that would show through the cracks) then my crackle medium, then the top coat.
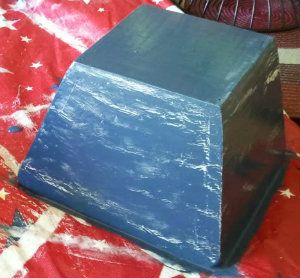
I did four of these, 2 rust and 2 blue. Once the paint was dry I decided they looked a little boring and stenciled some stars. I went with a tan/mustard color for the stars.
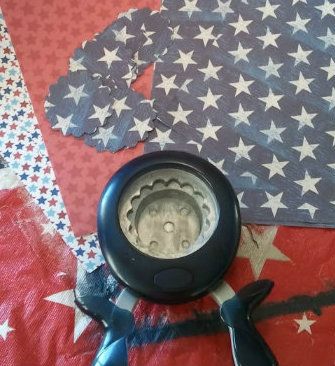
Next get your scrapbook paper. I mixed and matched a few different sheets. Start punching out lots and lots of punches. I went with a punch that was sort of a flower shape.
Once you have what will feel like a million of punches done, take your Styrofoam ball, push pins, and punches and get to sticking. You are just going to take a pin and put it through the middle of your circle (or whatever shape you used) and stick it right into the Styrofoam ball. I didn't even take the plastic off of mine. Leave some room at the bottom to stick in the dowel rod.

Take your dowel rod and push it into the bottom of the Styrofoam ball, then take your floral foam and push the other end into it until it comes through the bottom. Put some hot glue on the bottom of the dowel rod and stick it into the bottom of whatever container you are using as your base. The glue will give it a little more stability. Your moss or paper "grass" will come next, spread it liberally to cover the floral foam. Because I truly believe glitter can be added to just about every project, I sprayed my balls with a quick coat of glitter. I also tied a ripped piece of fabric as bow at the base of the ball. It helps hide any gaps that might appear where the dowel rod was inserted and I just liked the look of it.
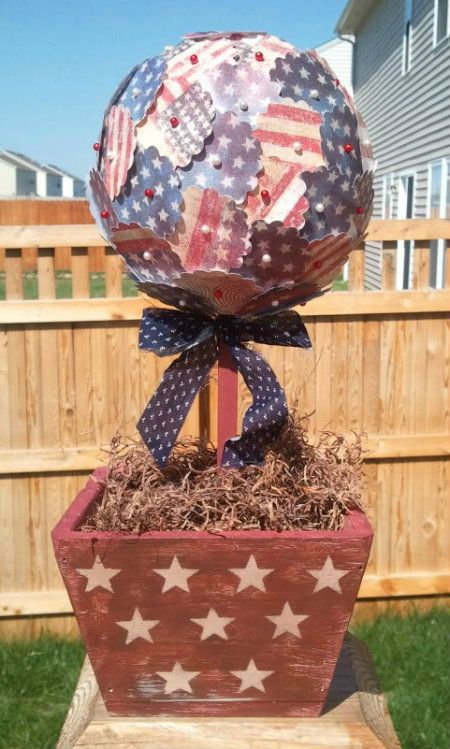
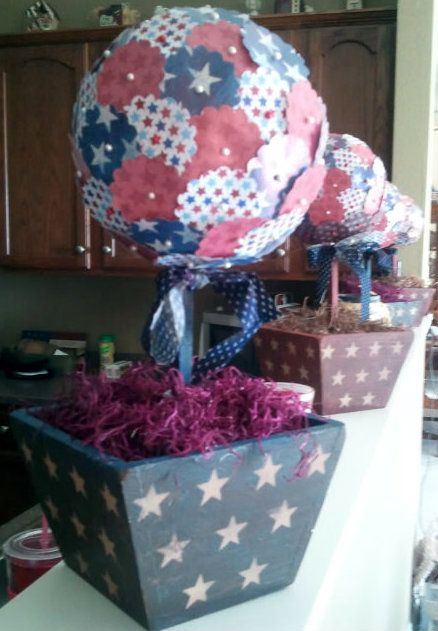
And not the best pic, but all four sitting on the ledge above my kitchen sink (ignore the mess all around the kitchen) These weren't hard at all. And a year later they are still sitting in the same spot. They have held up well, and I love that I get asked all the time where I got them.
So adorable!!!
ReplyDeleteOh Nicole, I love love love these! So gonna be making these!!
ReplyDeleteHi great reaading your post
ReplyDelete