
and since I was doing so many Hubby got me a jig, and it really made things go quicker. This is totally not necessary if you are only doing a few here and there, but does make life a little easier when doing them in bulk.

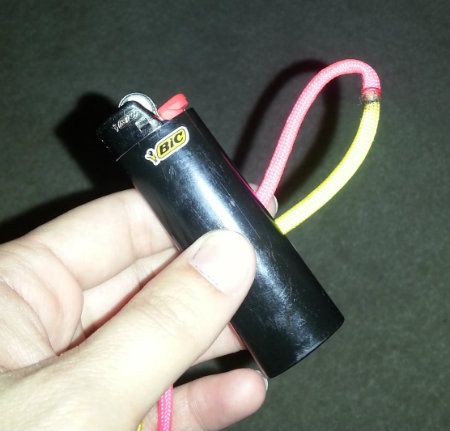
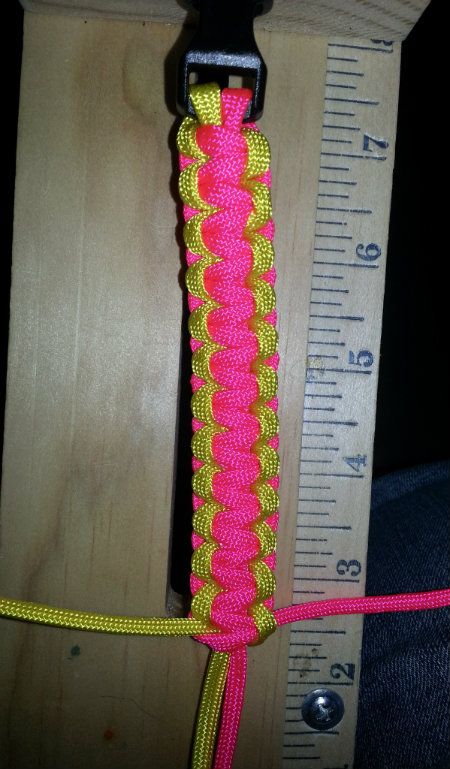
First I cut my paracord. One color bracelets go much quicker. For one color bracelets I cut the paracord about 8'-9'. A lot of the places will tell you 10, but I had a lot of wasted paracord this way. Most bracelets were made around 8", with some larger ones made at 9". Two color bracelets were made with two pieces of of paracord cut at 4'-5'. Once they are cut you fuse the two ends together by heating up the ends with a lighter (both at the same time) and then put the melting pieces together. Gently run them between your fingers to smooth them out. Be careful though, the paracord will get hot, and can catch on fire. Stop burning them as soon as you see the melting begin.
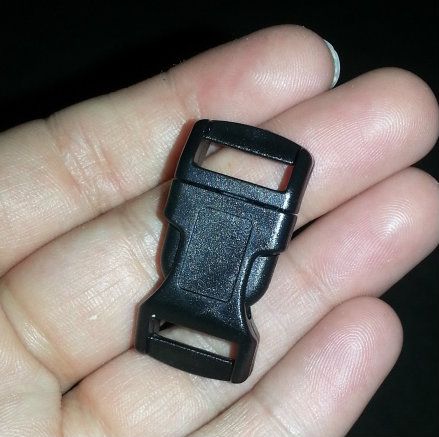
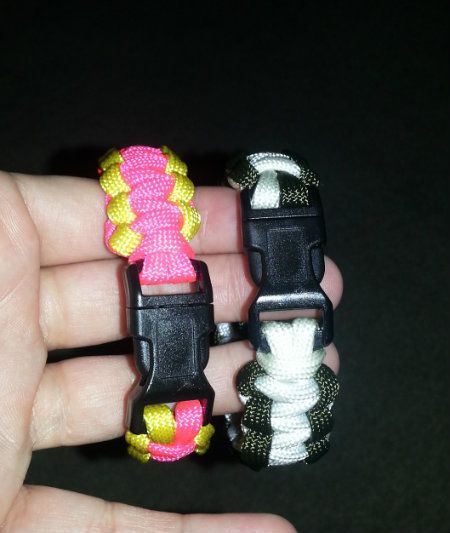
Next you need to grab your buckle. I prefer 1/2" buckles. Not to thick so they work for male and female, and the smaller buckles tend to be hard to buckle. You can get this at Hobby Lobby, but I ordered mine online from etsy. Once you have your buckle, you just need to run it through the openings. When threading two color bracelets, don't try and thread the fused section, just use an area near the middle using only one color. (did that even make sense?! LOL!)
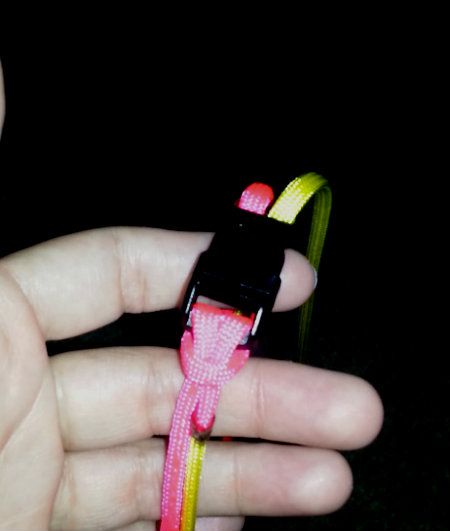
I then attach mine to my jig which I have set at 8". If you don't have a jig you can just use a ruler to measure. Then follow the instructions in the pin as to how to weave. The cobra weave is very simple and goes pretty quickly.
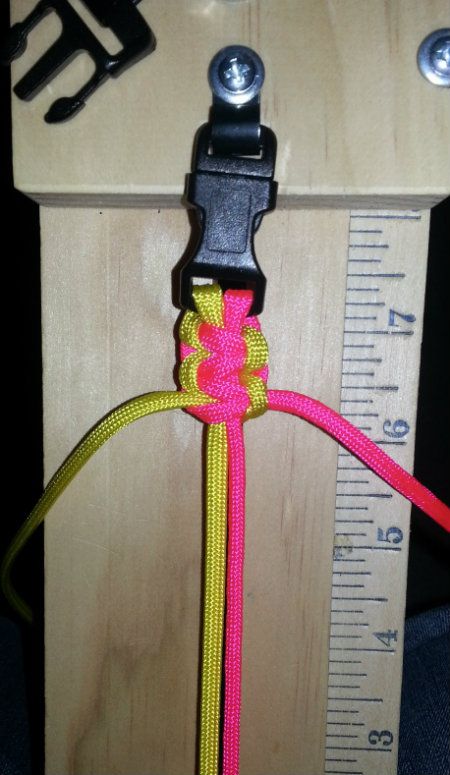
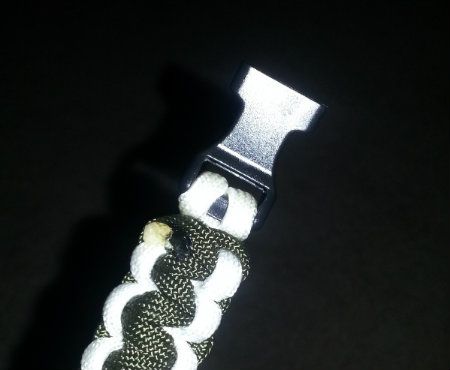
Finish your weave as closely to the buckle as you can. Your bracelet should be stiff. Try and make sure you pull your paracord as tightly as you can. Then trim off the ends as close to the bracelet as possible.

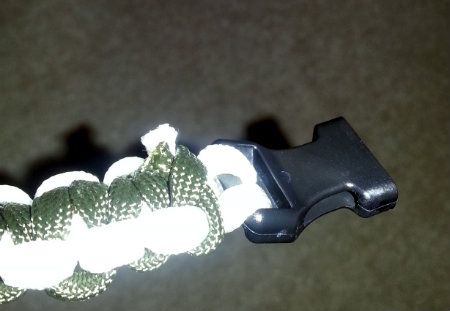
Then just take your lighter and melt the ends and squish them into the bracelet. I find that if you smooth them with your fingers you don't end up with any of the hard scratchy points you can get if you press down with a metal object. Once again though the paracord gets pretty hot, so be careful.
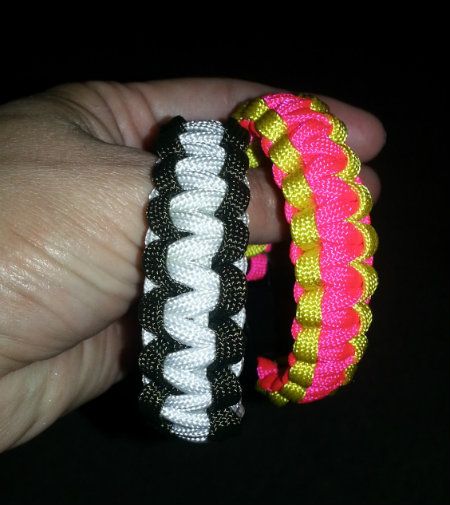
These are a great project because they were work for guys and gals, young and old. There are not that many craft projects out there that do that. These will continue to be something that I make. Just not in bulk........boy was that a pain in the butt!
Just a note......if you are using buckles, but not a jig, remember when you measure how long you want your bracelet to be to include the buckle itself.
No comments:
Post a Comment