Foam Wreath Shape (mine was 12 inches)
stick pins or floral pins
scissors/rotary cutter
ruler/cutting mat
burlap
decorations are optional
I started with a roll of burlap that I got at Michaels that was 6 inches wide. I used my rotary cutter and cut pieces 4 inches long, then cut those pieces in half at 3 inches. Your going for something close to a square. They dont' have to be perfect by any means at all. To be honest I didn't pay attention to how much I cut, I do have half a roll left though.
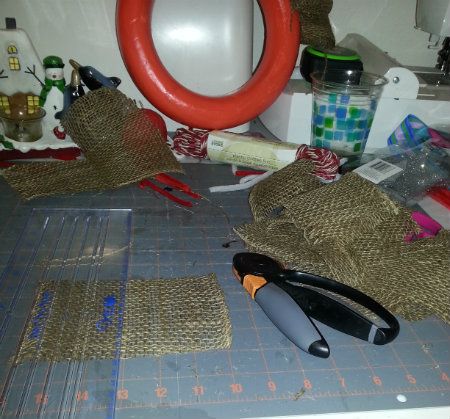
Once you have a fair amount of pieces cut gather your stick pins/floral pins and your foam base. I've read if you have extra pool noodles that these make great wreath bases, but haven't tried it..........yet! Take your pieces of burlap, fold them in half, then fold them in half again. Then just pin it on your wreath. I started from the outside and worked my way in. I found sticking in your pin at an angle helped prevent the burlap from coming over the head of the pin.
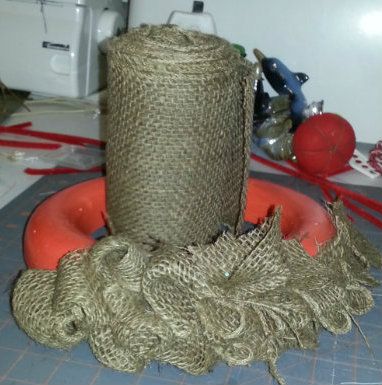
To be honest at this stage I didn't think I was going to like it, it just looked like a mess to me.
Just keep folding and sticking till your wreath is as you like.
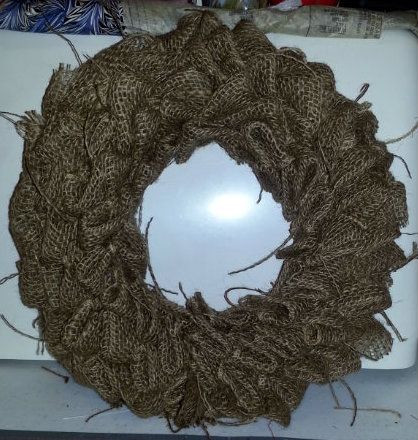
I actually don't mind the look of the plain wreath. I think with a ribbon hanger you could easily go without any decoration at all. I wanted to hang mine for Christmas so I just took a decoration I got from Hobby Lobby's floral (holiday) department. I bent it around the wreath. I didn't want it to be permanent so I could change it out.
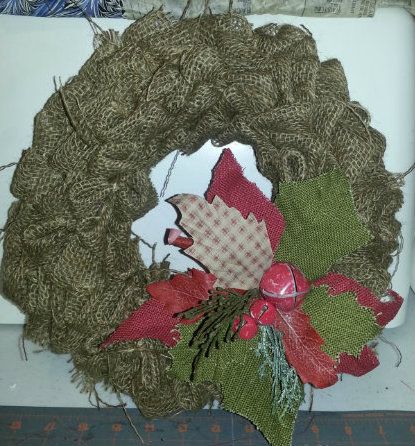
I just took some twine and attached it to the back for a hanger, I didn't want it to be seen. Then I threw it up on the wall.....
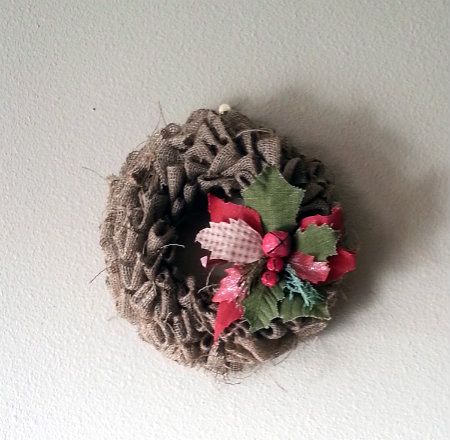
I will be making more of these, so if your family ignore this because you are probably getting one!
I spent a whole $1.00 on the foam base at Target, $3.00 for the Burlap (half off at Michael's) and $3.00 for the decoration (half off at Hobby Lobby). Considering I still have enough burlap left to do another wreath I would say this was a pretty cost effective project. I am in love with this wreath!


No comments:
Post a Comment