Then I tried this one
I started with a pile of bags
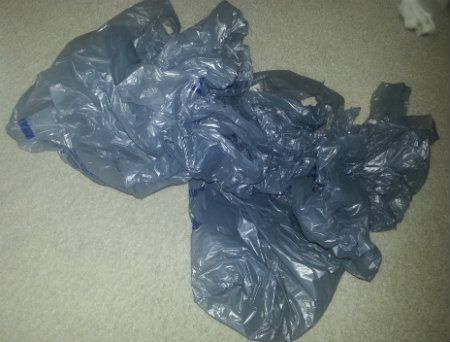
Then I took one bag and straightened it out and and folded it in half

Then fold it in half again

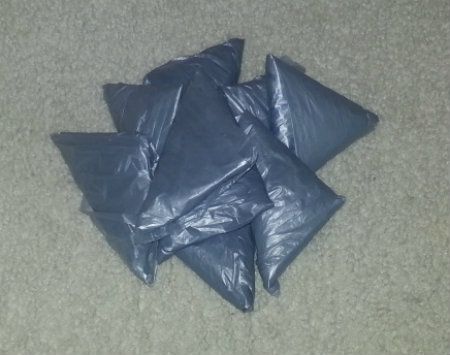
Spend a little timing folding triangles just like those old paper footballs you used to make as a a kid (directions are in the first pin) and you end up with a neat little pile of bags.
Next I moved on to putting bags in an old Lysol (or Clorox) Wipe container. I'm always throwing these in the recycling bin so it was nice to actually have a purpose for them! This was simple. My dogs decided to help out so I didn't get any pics of laying the bags out, but the instructions are right in the pin, and are easy to follow. This is what mine looked like after I rolled them up.
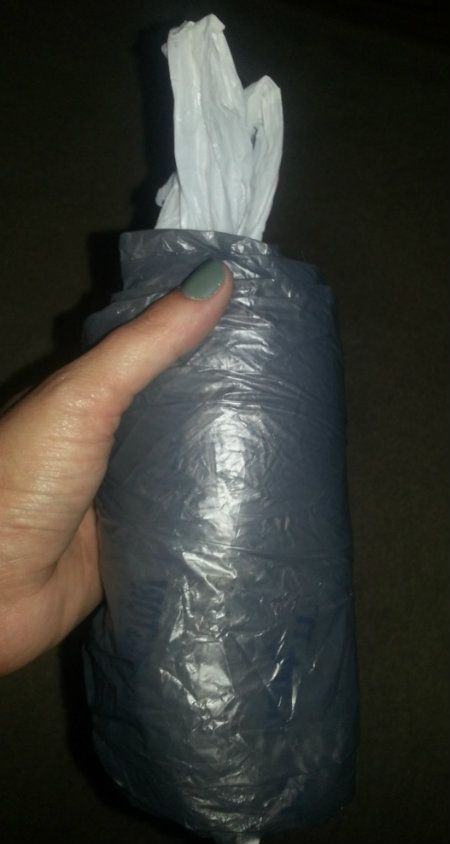
Then I put them in the empty container
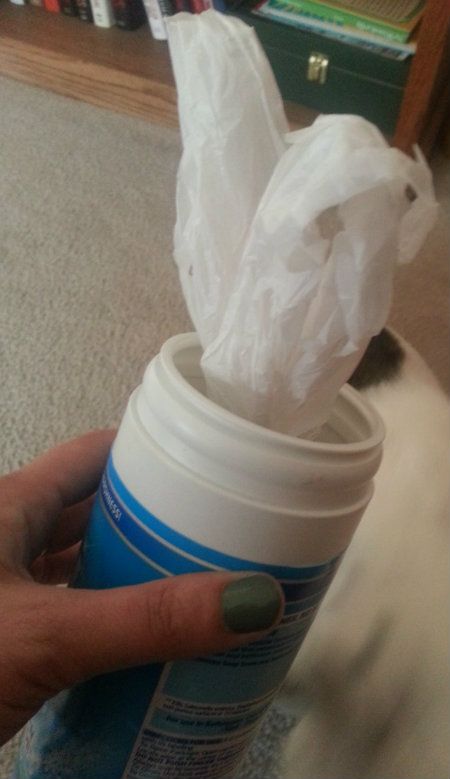
I decided that I needed to cover my container just like the original pinner. I didn't feel like digging through my fabric, so I just grabbed a piece of scrapbook paper and cut it to size and glued it on.
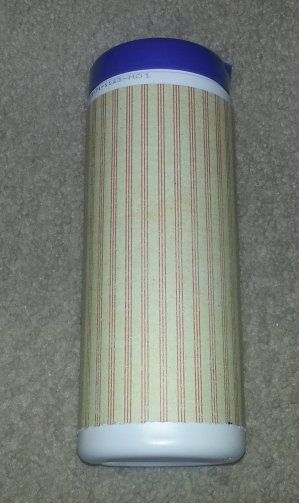
Then since I figured this would be perfect to put in the kids bathroom next to the trash can I labeled it. Didn't want to leave any doubt to what it was, and I also wanted to take away any excuses the kids might have for emptying their bathroom trash. They would let it pile up to the ceiling if they could.
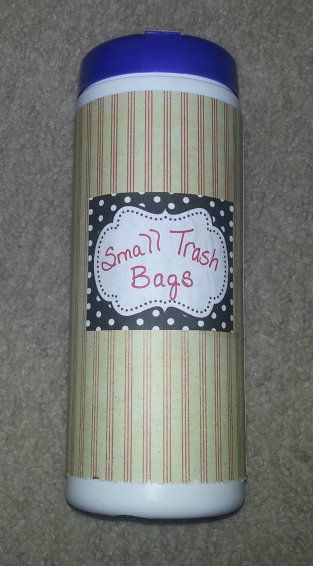
I am not happy with the the label and will probably redo it but considering the whole project took me like 10 min. I can't complain. I definately love the idea of being able to have the small bags right in the bathrooms next to the trashcans and looking nice, not cluttered. I fit about 12 walmart bags into one container.
I got my label from here
This is something I will definately keep doing. I love that when I open the cabinet under my kitchen sink that I don't have plastic bags falling out, and that I can have these right in the bathrooms too!


No comments:
Post a Comment