


I didn't want to spend a lot of money on fancy ornaments. I wanted to wait and see if I could even make one that I would want to hang up for all to see. I hit up the Dollar Tree. I bought 15 packs of ornaments for each wreath. I actually had bought that many because I wanted to use some as fillers in vases, but turned out I needed them. So my theory is after you think you have enough in your cart, add a couple more. The first one I did I used a white Styrofoam form from Micheal's. The second I tried using some pipe insulation as a wreath form from another pin

What You Need:
Ornaments (and lots of 'em)
Hot Glue Gun/Glue Sticks
String or Ribbon to Hang the Wreath
Wreath Form or Pipe Insulation
*Garland or Ribbon to wrap Wreath Form
*Duct Tape
Embellishments if wanted
*You only need the duct tape if you are using the pipe insulation, and wrapping your wreath form with garland or ribbon is optional. It helps hide any gaps between ornaments.
I took my insulation, realized that I needed it just a bit bigger, cut some off another piece and duct taped them together. I didn't measure......I just eyeballed it and went with what I thought would look right. I didn't end up with a perfect circle (I think because of the added piece) but decided, the heck with it and moved on to the next step.


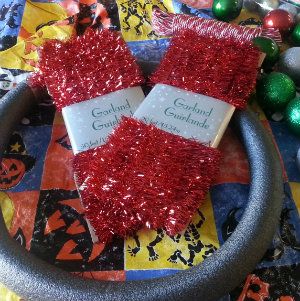
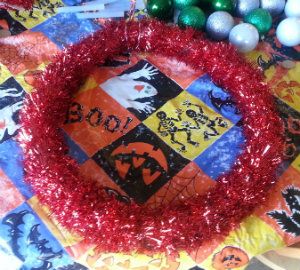
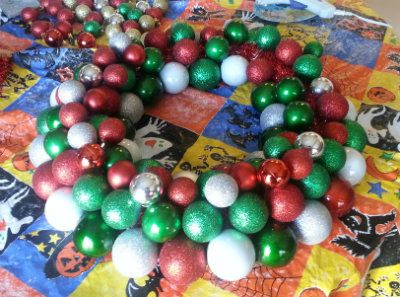
Ignore the Halloween Tablecloth......It's my "crafting" tablecloth. This way I don't have to try and be neat...lol! Next you are going to take your garland/ribbon and wrap the wreath. I was not precise about mine. I bought my garland at the Dollar Tree. I attached my string to hang it with at this point in the project also.
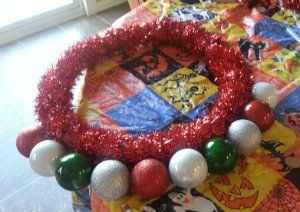
Now you want to take your bigger bulbs and glue them along the inside and outside of the wreath form.
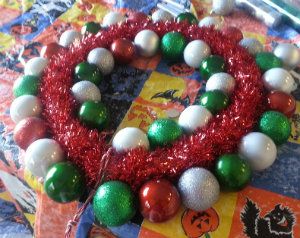
Take your smaller bulbs and basically just fill in the wreath. Just go with whatever looks right to you. I used 3 different sized bulbs. I used the larger ones to line the inside and outside of the wreath form, the medium ones along the edge of the ornaments and the wreath, and the smaller ones to fill in the gaps.
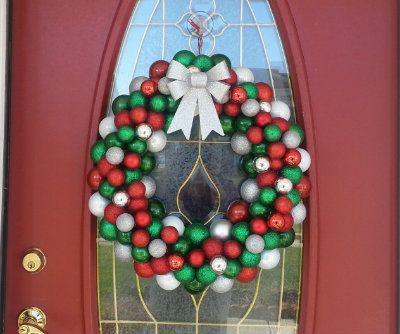
Once you get all your gaps filled in you can add any embellishments that you want to add. I added a silver glittery bow (also the Dollar Tree)
I think it took me longer to open all the containers of ornaments then it did to put the wreath together. Well.......once I stopped over thinking placement. I was trying to put them in a pattern at first, then just went with whatever I picked up next. Here is another one that I made.

I really want to take the bulb off that is on the side sticking out, but once these babies are glued down they don't want to come off! I really want to make a few more of these because they are pretty fun, and quick. I just don't have anywhere else to put them. I will be keeping my eye out for after the holiday sales, so I can get some different ornaments.
This is one of the more popular foam projects as of late I've noticed. With larger cylinders, like cored-out foam noodles, you can even slice the foam in half, and if you wrap the meeting points carefully, get two wreaths from one cylinder, as well as a flat back that will rest more stationary against the door!
ReplyDeleteThanks for the information....
ReplyDeletePiping Insulation
insulation for steam pipe