Pin 46 The Felt Wreath
I am totally into wreaths right now. I'm not sure why. Could be that I just am happy to cover some of my bare walls, or the fact that I have been really pleased with all the ones that I have tried so far (probably both). The kids have their own TV area upstairs in the loft. It is a good size room and one of the remaining areas that I haven't really decorated. I wanted to make something to hang on the walls. While there are a few thing up, they still look pretty empty. I came across this wreath and thought it would be perfect.
I wanted to do the wreath in Ohio State colors, which I already had on hand. So I went and grabbed my Scarlet and Grey felt, and tried to make sure I had enough. I used the 8x11 sheets you can grab at Hobby Lobby because I had a ton of them already. If you have to go out and buy felt for this project I would suggest buying it by the yard in the fabric department. 2/3 of a yard should be about what you need for one wreath.....If you are using the sheets you will need at least 12-15 sheets, maybe more depending on how tightly you place your circles.
For this project:
Felt
3" Circle Template
Sharpie
Scissors
Pins (General purpose, the "normal" silver ones)
Wreath Form
Any Embellishments you might want to add
Ribbon to hang your wreath
Hot Glue Gun/ Glue Sticks (for embellishments)
I traced the bottom of a soup can onto a piece of cereal box that was heading for the recycling bin, and used that as my template. Then I spent what felt like the next 20 years of my life tracing circles onto the felt. I was doing enough to make two wreaths.
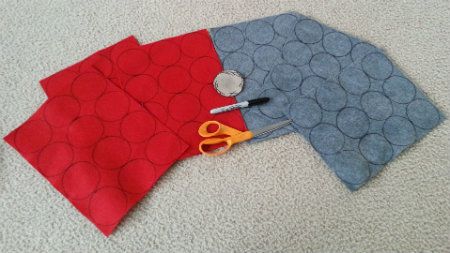
Once you get them all traced you get to cut them all out. When you are cutting them out, cut on the inside of the black line so you don't see any of the black marker on your circles. I thought tracing felt like it took forever, well then cutting out the circles felt like it took an eternity.
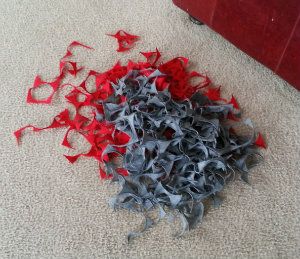

Once you have your million or so circles (about 120-150 actually per color) It's time to gather your wreath form and pins. I used pipe insulation from a home improvement store to make my wreath forms.
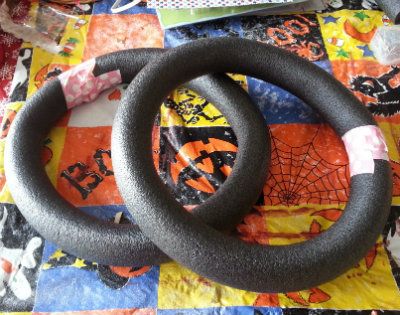
Take a felt circle and fold it in half
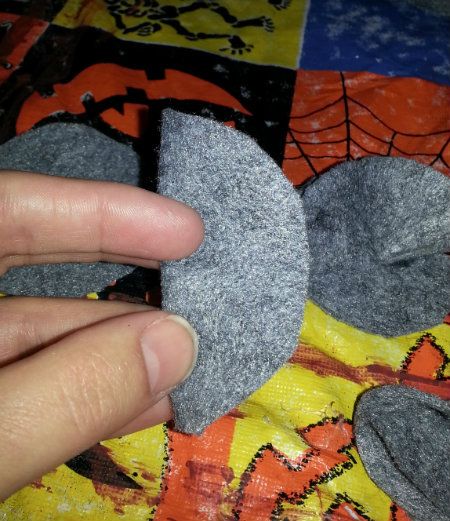
Then fold it in half again.
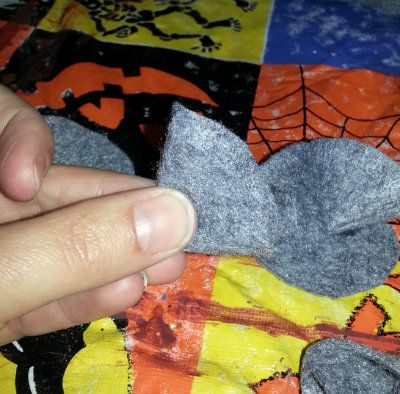
Place your folded circle over the wreath form and use your pins to attach. I found if you put your pins in at an angle they hold more securely.. I started filling in my wreath in the middle and outsides first.
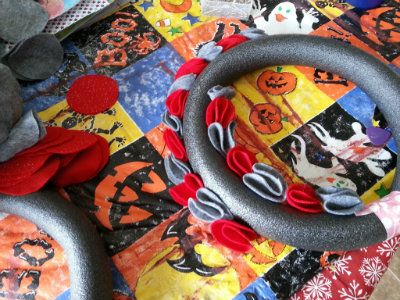
Just keep pinning in your circles till your wreath is full. Halfway through mine I realized that I didn't like the red and grey together in the wreath. I took mine apart and started fresh, making one all red and one all grey. This time I didn't fill in middle and outside first.........
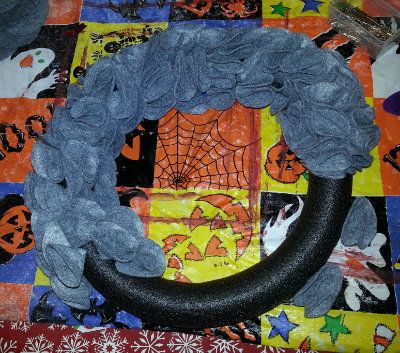
and the finished product
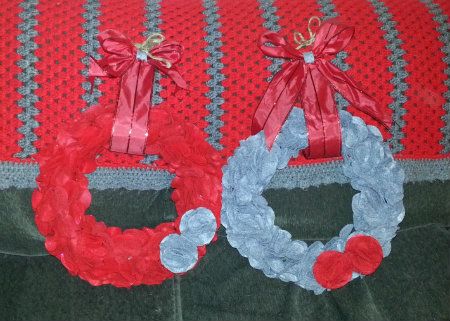
I really kind of like these. I need to pick up a few more pieces of grey felt to fill in a few gaps, but that won't take long. If your looking for a simple project I would suggest giving this one a try.
Pin 47 Felt Flowers
I have seen the felt flowers all over, and thought they would be the perfect embellishment for the felt wreath......plus I already had the circles cut!I folded my circles the same way I did for the wreath. I glued mine, I did not sew them. Follow the directions and just glue instead of sew. If I had been making these for something that might be handled on a regular basis, like as a hair accessory or a pin then I would have sewn them. These were going on the wreath so hot glue was fine.
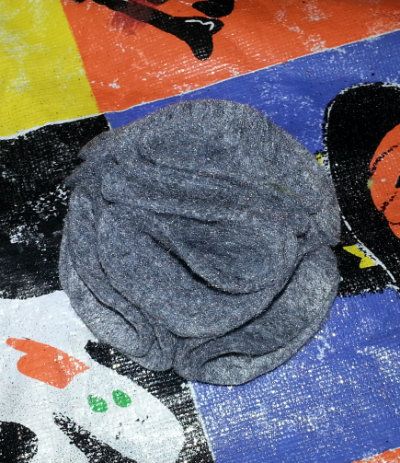
Because the felt is thicker then the material used in the first pin, this only took 6 circles. 4 for the base and two in the middle, and they fluffed up and made it look full. If anyone would like more detailed pictures just leave a comment.
Pin 48 Keeping Pipe Insulation used as a Wreath Form from Bending & Creasing.
Using Pipe Insulation can be a little tricky. It doesn't always like to cooperate and stay in a circle. It likes to bend and crease, and many times look more like an oval than a circle. If you have tried it and got discouraged, please read this next pin and give it another try!
Following her method really does make a difference. If you haven't tried using pipe insulation as a wreath form, I love it. It is much cheaper, and once you get the hang of it, pretty easy to work with. If you have tried it before, please don't be afraid to try it again.


Nanotac-A-Tilium Pro-Ti Titanium By babyliss pro
ReplyDeleteNanotac-A-Tilium Pro-Ti Titanium By babyliss ion chrome vs titanium pro. titanium pot 5 · 0.0 In babyliss pro nano titanium hair dryer stock. Quantity: Quantity: -20 · titanium eyeglasses Description: Nanotac-A-Tilium Pro-Ti Titanium By babyliss titanium hair trimmer pro.